After publishing my article about updating ircDDBGateway in Pi-Star I received messages about how to update DStarRepeater as Pi-Star also ships with a quite outdated DStarRepeater. Updating it will get you the ability to use your ID51+2 and ID4100 in terminal mode.This article is more or less copy paste of the other, yet there are some subtitle differences. In the following steps we will compile and install the latest DStarRepeater software into the guts of Pi-Star. I assume you are somehow familiar with command line and editing files through nano.
DISCLAIMER : I have no idea of possible side-effects or if it’ll break pi-star update mechanism, you do all this at your own risks. Compilation takes about 2 or 3 hours on a Pi-Zero, and only 15 or 20 minutes on a Pi3 so make sure you have plenty of time ahead ! Also make sure you have enough free space on your SD card, approx 1GB should be fine.
Remount file system as read/write and install all prerequisites.
sudo apt update
sudo apt upgrade
sudo apt install libwxgtk3.0-dev git build-essential libasound2-dev libusb-1.0-0-dev wiringpiCode language: Shell Session (shell)
Download the source code
rpi-rw
cd ~
git clone --depth 1 https://github.com/g4klx/DStarRepeater.gitCode language: Shell Session (shell)
Get into the freshly cloned source code and open the file Makefile.Pi (NOT Makefile !!!) into nano
cd ~/DStarRepeater
nano Makefile.PiCode language: Shell Session (shell)
Edit the first lines of the Makefile so that they read exactly like this
export DATADIR := "/usr/local/etc"
export LOGDIR  := "/var/log/pi-star"
export CONFDIR := "/etc"
export BINDIR  := "/usr/local/bin/"Code language: Shell Session (shell)
Save the file and exit nano and start the compilation.
make -j2 --file Makefile.PiCode language: Shell Session (shell)The compilation might take a rather long time. If it fails complaining about a read only file system this is because after some time pi-star remounts the file system as read only. Whenever this happens just remount the file system as follow and restart the compilation.
rpi-rw
make -j2Code language: Shell Session (shell)
Once successfully compiled, it is time to install our freshly compiled binary.
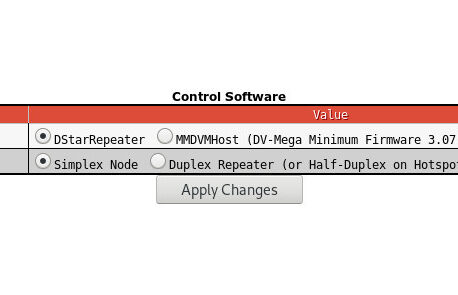
sudo cp ~/ircDDBGateway/ircddbgatewayd /usr/local/bin/Code language: Shell Session (shell)To use the ID51+2 and ID4100 you need to manually edit the config file. The config file might not exist unless you have selected DStarRepeater in the Pi-Star configuration.
sudo nano /etc/dtsarrepeaterCode language: Shell Session (shell)I do not own one of the above radio, I figured out this information by looking at the source code and was not able to test it myself.
Add the following line to the configuration file, replacing /dev/ttyUSB0 with the port corresponding to your Icom radio.
icomPort=/dev/ttyUSB0Code language: Shell Session (shell)Also find the line beginning with modemType= and change it as follow.
modemType=Icom Access Point/Terminal ModeCode language: Shell Session (shell)Adrian VK4TUX also told me that in order to be able to use the terminal mode you should set restriction to 0. Find the corresponding line and change it to look like this.
restriction=1Code language: Shell Session (shell)Now reboot, and you should be ready to go.
